
A clean SharePoint structure is critical for collaboration, security, and long-term growth. Poor folder design and permissions often cause confusion, data sprawl, and access issues.
If your SharePoint environment feels messy or disorganized, you’re not alone. Many businesses struggle with cluttered folders, inconsistent naming, and confusing permissions. Learning how to build a clean SharePoint structure is essential for keeping your files organized, secure, and easy for your team to navigate — especially as your business grows.
Why a Clean SharePoint Structure Matters
A well-designed SharePoint structure ensures your business can:
- Find documents instantly
- Prevent duplication and accidental overwrites
- Reduce permission errors
- Improve team collaboration
- Support long-term growth
Think of SharePoint as your company’s digital filing cabinet — if it’s messy, productivity suffers.
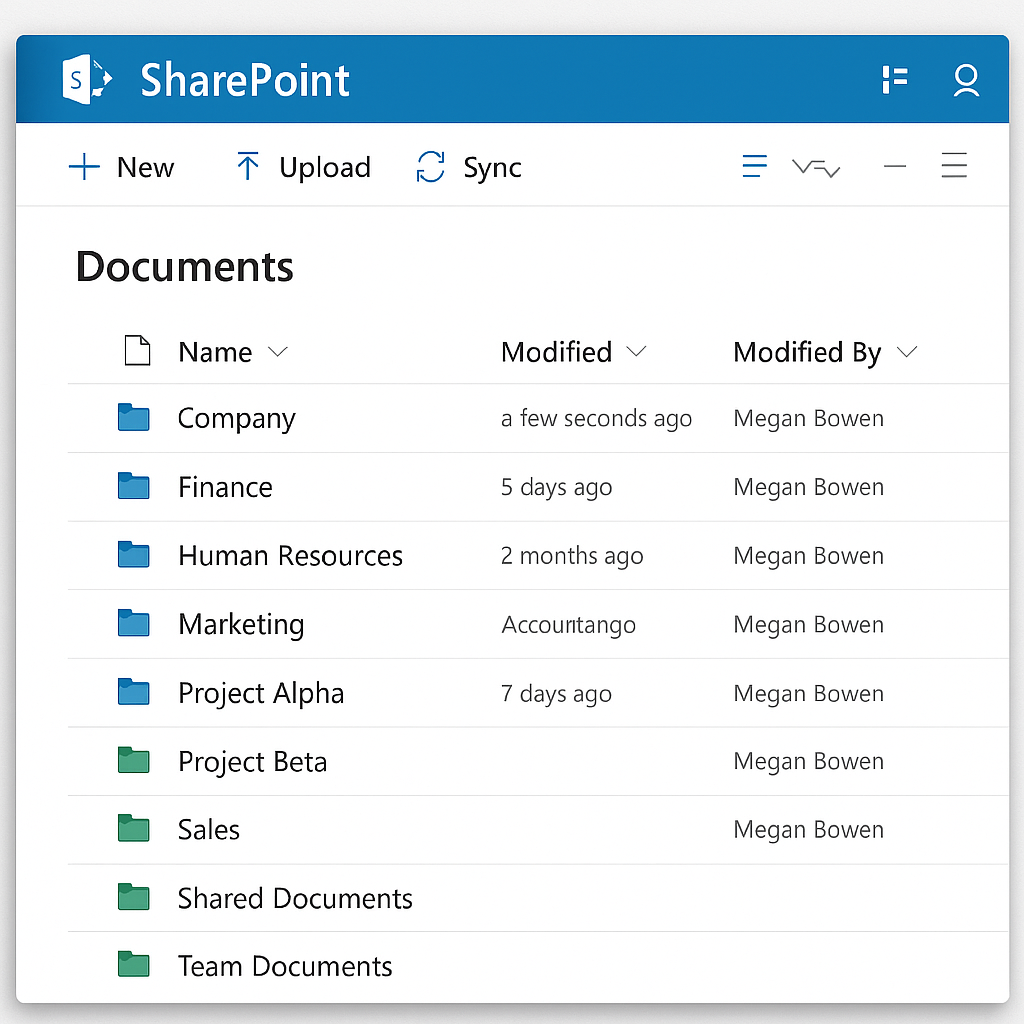
Step 1 — Start With Top-Level Sites (Not Folders)
Avoid dumping everything into one giant site.
Instead, create separate SharePoint sites for each major function in your organization:
- Operations
- Finance
- Human Resources
- Sales
- Marketing
- Management
Each site becomes a secure container with its own permissions and storage boundary.
Step 2 — Use Document Libraries to Separate Major File Types
Within each site, create Document Libraries for major categories.
Example for Operations site:
- Procedures
- Forms
- Vendor Documents
- Equipment Logs
- Internal Reports
Libraries prevent clutter and allow metadata, views, and automation to be tailored.
Step 3 — Create Standardized Folder Templates
Every Document Library should follow a consistent folder template such as:
01 – Admin
02 – Active Work
03 – Archive
Or, for client-facing businesses:
Client Name
├── Contracts
├── Invoices
├── Deliverables
└── Communications
Consistency makes navigation faster and easier for everyone.
Step 4 — Set Naming Conventions Early
Good naming conventions prevent chaos over time.
Examples:
- Use dashes instead of spaces:
Project-Charter_v1 - Include version numbers:
_v1,_v2,_final - Avoid vague labels: “Misc,” “Stuff,” “Other,” “Old Files”
Once a convention is chosen — document it.
Step 5 — Apply Permissions at the Top (Not on Subfolders)
The biggest SharePoint mistake is custom permissions on random folders.
Follow this rule:
One site = one group of people.
If a different set of people needs access → they need a different site.
This avoids:
- Broken inheritance
- Confusing access issues
- Accidental data exposure
Step 6 — Implement Metadata for Better Search
Metadata makes SharePoint exponentially more powerful.
Consider using fields like:
- Document Type
- Department
- Status
- Client Name
- Year
With metadata views, users can skip folders entirely and filter instantly.
Step 7 — Create an “Archive” Strategy
You can archive by:
- Moving old items into a dedicated Archive library
- Tagging them as “Inactive” with metadata
- Using Power Automate to auto-archive files older than X months
A clean archive strategy keeps your active files tidy.
Step 8 — Train Your Team (The Most Important Step)
Even the best structure fails without adoption.
Train users on:
- How to upload correctly
- Where documents belong
- Naming conventions
- How to avoid creating duplicate versions
- When to use Teams vs. SharePoint
A 15-minute walkthrough can prevent years of chaos.
- Microsoft’s documentation on organizing site libraries – guidelines from Microsoft on planning site structure.
- AvePoint’s best practices for SharePoint information architecture – suggestions for metadata, sites, and libraries.
Ready to improve your business IT?
If you need fast help without long-term contracts, Resurge Technology provides on-demand business IT support, Microsoft 365 guidance, and security-focused solutions.
No long-term contracts required